I am Computer Engineer by profession, passionate about technological advances in software technology, enthusiast learner. Also loves to read literature of historical & social importance.
VueeJS is open source reactive javascript framework library that helps us to create powerful client side web application. VueJS with its templating functionality can help us define HTML template, in which data is bound with models. HTML template elements change their status, style, values etc automatically with respect to changes in data model.
In addition to VueJS, there are many open source libraries that are provided and work well with VueJS.
Usaully database contains tables having static columns to hold the data. However, there may be case when values of certain column are calculated by expression from other columns. In such there is no need of physical storage of data for those columns. Such columns are defined as virtual columns to calculate values on the fly.
Syntax for colum definition:
column_name [data_type] [GENERATED ALWAYS] AS (expression) [VIRTUAL]
DROP TABLE schema_name.table_name [CASCADE CONSTRAINTS | PURGE]
Schema_name : it is optional to provide schema name to which table is attached.
table_name : name of the table to be deleted
CASCADE CONSTRAINTS : If table is associated with another table through foreign key integrity constraint, this clause has to be specified while deletion. If specified, it will also drop foreign key constraints from other table in addition to specified one table. If not specified, database throws error for deletion in case table is having foreign key integrity constraints with other table.
PURGE : If PURGE is speficied, table is not moved to recycle bin instead it is deleted forever.
Suppose we have following “people” table in database.
Lets execute query to delete the “people” table.
drop table people purge;
As in screenshot, after executing query table is purged. If we try to do desc query for table it will fail.
Alter table query can be used to modify the schema of existing table.
Following is the query syntax
ALTER TABLE table_name action_;
table_name – Name of the table to modify schema of.
action_ : modification to do in table.
Following are possible modifications actions.
To add new column.
To Modify schema of table column
To rename the column
To delete existing column.
To rename the table.
To add new column
Suppose we have following table “employee” with schema definition as in below already in database.
lets execute following query to add column named “contactno”.
alter table employee add contactno number not null;
As in above screenshot it has added new column “CONTACTNO”.
To modify Schema of table column.
Suppose we want to modify schema of “contactno” column from number to varchar2(13);
Syntax
ALTER TABLE table_name MODIFY column_name column_datatype column_constraint.
Lets execute following query.
Alter table employee modify contactno varchar2(13);
As in above screenshot, contactno column type is changed from number to varchar2(13). Please note, We have not specified “not null” in above query since it is already not null & we dont intend to change column constraint.
To rename the column
Following is query syntax to do rename of column.
ALTER TABLE table_name RENAME COLUMN column_oldname TO column_newname;
suppose we have following table “employee” in database.
Suppose we want to change “contactno” column name to “personalcontactno” column.
we execute the following query.
alter table employee rename column contactno to personalcontactno;
as in screenshot, “contactno” column is renamed to “personalcontactno” after executing alter table query.
To delete existing column.
Syntax for delete column query to drop multiple columns.
ALTER TABLE table_name DROP (column_name1,column_name2…)
Syntax for delete column query to drop single column.
ALTER TABLE table_name DROP column column_name;
Suppose we have following table definition of “employee” in the database.
Suppose we want to delete the column “personalcontactno”, lets execute following query.
alter table employee drop column personalcontactno;
As seen in above screenshot, after executying the query, column “personalcontactno” has been removed from table definition.
To Rename the table.
Syntax to rename the table name.
ALTER TABLE table_oldname RENAME TO table_newname;
Suppose we have following table “employee” in the datatabase, that we want to rename to “people”.
Lets execute following query.
alter table employee rename to people;
As seen in above screenshot, after query execution “employee” table has been renamed to “people”. If we try to do desc query with old table name “employee” it will fail.
Table Columns having Identity constraints can be termed as Identity column. They can be used as primary key constraint for the table.
Following is syntax to declare Identity column constraint.
GENERATED [ ALWAYS | BY DEFAULT [ ON NULL ] ]
AS IDENTITY [ ( identity_options ) ]
GENERATED : It is mandatory keyword.
ALWAYS : It indicates that value for this column would be always generated by database. If we explicity try to set value for this column it would result in error.
BY DEFAULT : It indicates that value for this column are generated automatically only when no value is provided while inserting record into table.
BY DEFAULT ON NULL : It indicates that value for this column are generated only when no value provider or null value provided while inserting record into table.
AS IDENTITY : it is mandatory keywords.
identity_options : We can add multiple options to control generation of value.
START WITH initial_value – value generation will start from initial_value. If not provided, value generation starts from 1.
INCREMENT BY interval_value – Defines interval to generate value. Default interval is 1.
CACHE – This is used to improve performance of insertion queries. It indicates number of values to be generated in advanced.
schema_name – Name of the schema table belongs to. It is an optional.
table_name – Name of the table to be created
column_1 – Table may contain multiple columns, it represents name of column 1 and so on. Multiple column schema definitions are seperated by comma.
data_type – Oracle supports various data types, it represents data_type for current column.
column_constraint – Contraint definition for column, if any like primary key, not null etc
table_constraint – Constraints definitions for table.
EXAMPLE –
Lets create Employee column having columns id, firstName, lastName. Following is the sql query for the same.
create table Employee(
employee_id number generated by default as identity,
first_name varchar2(50) not null,
last_name varchar2(50) not null,
primary key(employee_id)
);
Here we have created table named “Employee” having following
Column employee_id – This is unique identifier column with schame type as Number. Column constraint “generated by default as identity” instructs database server to automatically generate values for this column when records are inserted.
Column first_name – This is column with type varchar2 having size 50. That means column can contain string literal with maximum number of characters 50. Also colum constraint “not null” says value for this column cannot be empty.
Colum last_name – same as first_name column
Constraint Primary Key – This is table level constraint to declare that column employee_id would contain unique values to identify each record uniquely.
Database server is an independent service having mutiple instances of database created within it. Following are ways to connect to database server.
Using SQL Developer Tool
Using SQLPlus Command Line Tool
Using SQL Developer Tool
Steps
Download SQL Developer tool from Following link and proceed to install it.
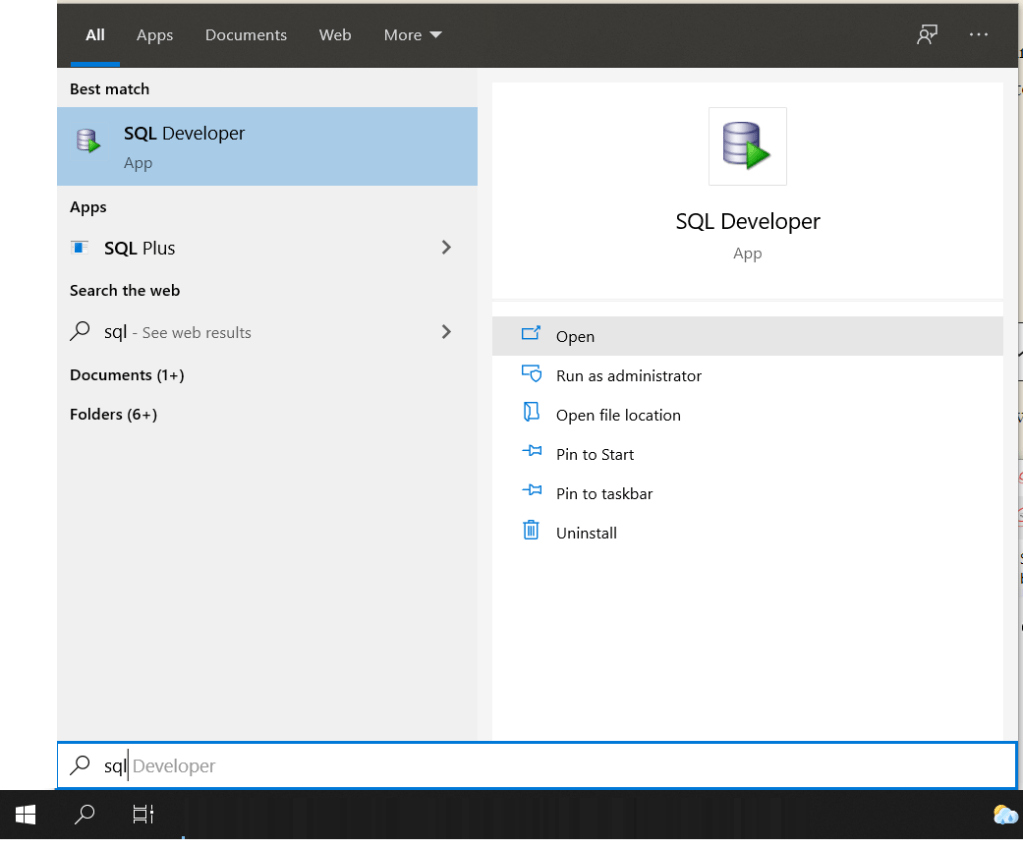
Launch SQL Developer Application from start menu
It will open as in below screenshot, click on + sign on left panel to create new connection.
It will open the dialog “New/Select Database Connection”, enter details as in screenshot and click on “Connect”. Here “orcl” is name of database instance already created in database server. we are connecting with “system” user. Local Net Service name is “orcl” same as database instance name, which is entered in “Service Name” field.
If all details entered are correct, it will connect and show database connected as in below screenshot. If you expand on + “orcl” database name, it will show in left panel entire database schema.
2. Using SQL Plus Command line tool.
Open the “command prompt” through start menu.
You need to know name of Database instance net service name, database username and credentials.
Here we are connected to database instance named “orcl” using credentials(username : system, password : system)
To show, which database current session is connected to, use sql query “show con_name”. It is showing that we are connected to “orcl” database instance.
public class SleepSort {

	public static int counter = 0;
	public static int sortedArr[];
	public static int arr[] =  {21,12,14,1,26,34,67,45,0};
	public static int threadCount=0;
	public static void main(String[] args) {
		// TODO Auto-generated method stub

		System.out.println("printing unsorted array");
		printArray(arr);

		sortedArr = new int[arr.length];

		for(int i=0;i<arr.length;i++){

			SleepThread t = new SleepThread(arr[i],i);
			t.start();
			threadCount++;
		}


	}


	public static void printArray(int arr[]){
		for(int k=0;k<arr.length;k++)
			System.out.print(arr[k]+" ");

		System.out.println("");
	}

}

class SleepThread extends Thread{

	int multiple,position;

	public SleepThread(int multiple, int position){
		this.multiple=multiple;
		this.position=position;
	}

	public void run(){
		try {
			sleep(1000*this.multiple);
			SleepSort.sortedArr[SleepSort.counter++] = SleepSort.arr[this.position];

			SleepSort.threadCount--;

			System.out.println("sorted array after value "+multiple+", position ::"+this.position);
			SleepSort.printArray(SleepSort.sortedArr);

		} catch (InterruptedException e) {
			// TODO Auto-generated catch block
			e.printStackTrace();
		}

	}

}
Output :
printing unsorted array
21 12 14 1 26 34 67 45 0
sorted array after value 0, position ::8
0 0 0 0 0 0 0 0 0
sorted array after value 1, position ::3
0 1 0 0 0 0 0 0 0
sorted array after value 12, position ::1
0 1 12 0 0 0 0 0 0
sorted array after value 14, position ::2
0 1 12 14 0 0 0 0 0
sorted array after value 21, position ::0
0 1 12 14 21 0 0 0 0
sorted array after value 26, position ::4
0 1 12 14 21 26 0 0 0
sorted array after value 34, position ::5
0 1 12 14 21 26 34 0 0
sorted array after value 45, position ::7
0 1 12 14 21 26 34 45 0
sorted array after value 67, position ::6
0 1 12 14 21 26 34 45 67